Exterior Wood Sealer Guide
Sealing your deck is easier than you think. Many homeowners seal their decks without the aid of an independent contractor or outside help. This is because while it may seem like a daunting task, it is actually exceptionally easy and even plenty of fun to do.
See Our Wood Staining Guide

Exterior Wood Sealer Guide
Step 1: Inspect the Deck
Exterior Wood Sealer Guide
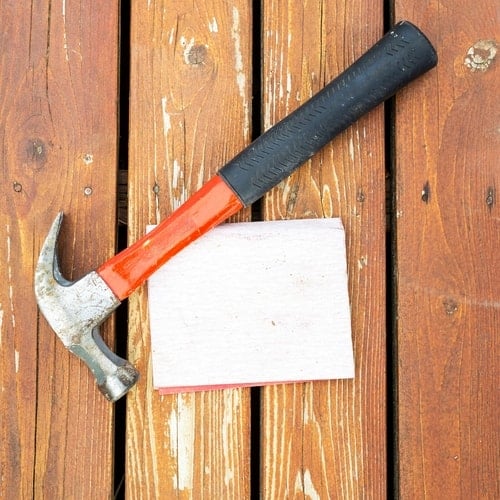
The first step of our exterior wood sealer guide is to inspect the deck. In this step the homeowner (you) gets a feel for the task that he or she is about to complete and will determine what will be the right approach for sealing the deck. You should look out for loose screws, warped wood pieces, and splinters. With the natural wear and tear of outdoor factors, such as weather, the wood that composes the deck may be warped from its original shape. The inspection should also check for nails that are protruding from the surface of the deck before you get ready to seal your exterior wood.
This is also the perfect time to assess what will be the right color of stain to match the current shade of the wood.
See More Wood Stain Advice

Exterior Wood Sealer Guide
Step 2: Clean the Deck
Exterior Wood Sealer Guide
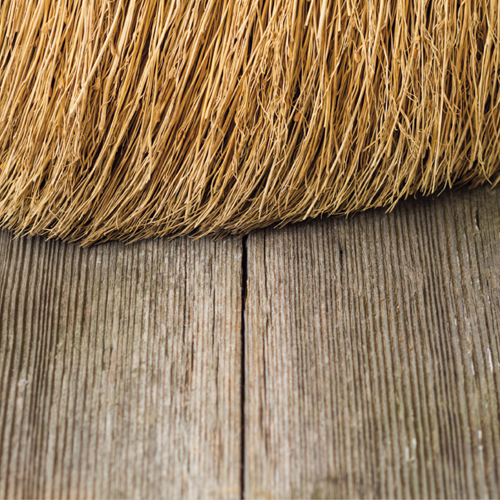
The second step to sealing your exterior wood deck is to get the surface of the wood deck nice and clean in preparation for applying the outdoor deck sealer. Cleaning the exterior deck is a special feat that involves specific tools. The wood needs to be brushed free of dust and debris prior to applying the exterior wood sealer. Since this is done outdoors, it is important that the cleaning of the deck be done only very shortly prior to the actual staining of the deck.
You can begin cleaning your exterior wood for sealing with a shop broom hosed down with water. The deck can be brushed free of any lingering dirt or debris. There are special cleaning solutions made for outdoor decks and these should be used in order to clean the deck. You have only to apply the solution, then to brush down the deck with a mop outfitted with thick, hard bristles. After doing so, you can wash the deck off with a hose or even with a pressure washer if one is available. After this, the deck should be allowed to dry completely.
See All Deck Cleaners and Brighteners

Exterior Wood Sealer Guide
Step 3: Stain the Deck
Exterior Wood Sealer Guide
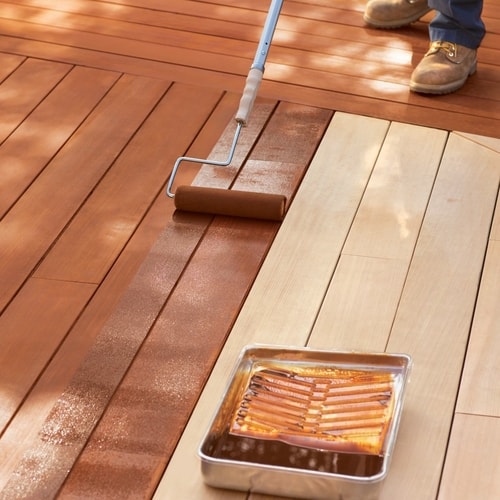
The third step to sealing the exterior wood deck is to actually apply the outdoor wood sealer. In preparation for staining the deck with exterior wood sealer, you should lay down painter's tape in order to block off areas that you don't want painted. Then, you should open up the can of outdoor deck sealer and stir it just sufficiently without causing too much bubbling in the stain. The deck sealer should then be left to sit a minute so that all bubbles dissipate.
At this point, you can pour a good amount of the outdoor wood sealer into the paint tray from which you will utilize the long handle sponge roller to dip into the paint tray. Once dipped, the sponge roller can be freed of excess stain drips and rolled along the surface of the deck to begin the outdoor wood sealer process. It is also possible to achieve the stain by using a sprayer, but for the purpose of convenience in this article, we will discuss the simpler method of the long handle paint roller.
View Stain Color Advice

Exterior Wood Sealer Guide
Step 4: Allow the Deck to Dry
Exterior Wood Sealer Guide
The fourth and final step in staining the deck is to allow the deck sealer to dry. This process usually takes around twenty four to forty eight hours total. This depends largely upon the humidity in your region and climate at the time.
See Our Store Locator


