How To Stain Wood - A Wood Staining Guide
Learning how to stain wood the right way is easier than you may think. There are five easy-to-follow steps you can use to revive your antique furniture or wooden floor back to its former glory. Here are the steps describing how to stain wood.

How To Stain Wood
Step 1: Preparation of the Area
How To Stain Wood - A Wood Staining Guide
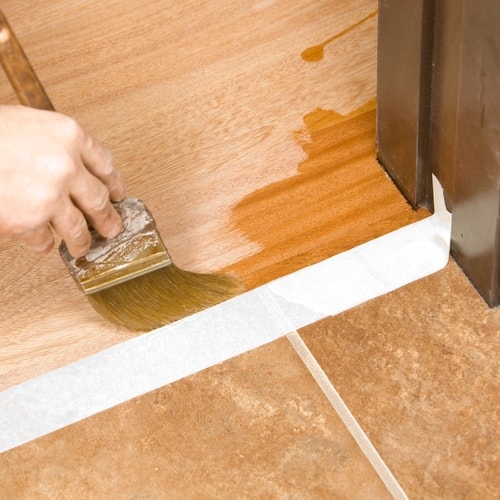
The easy way to stain wood is to have the working area prepared well before the staining begins. At this point, you will be looking for anything that may hinder you from staining the surface properly. If there are items on the surface, you should move them away. Make sure that windows and doors are open for adequate ventilation of the room. Also, it is necessary to tape off adjacent surfaces to protect them from getting stained.
View Our Interior Wood Stains

How To Stain Wood
Step 2: Inspection of the Wooden Surface
How To Stain Wood - A Wood Staining Guide
The next thing is to inspect the surface to check for imperfections that would upset the final look. Things to look out for include:
- Broken pieces of wood
- Protruding nails and screws
- Sealed coating
- Metal staples
If you find any imperfections on the surface, make sure they are removed before starting the staining process. Staples, nails, and screws can be pulled out using a screwdriver and hammer. There is a high chance that the surface will be sealed. Sealer is often applied on wooded surfaces to protect them from water damage. The sealer may, however, prevent the wood stain from soaking in well. You can remove it using a sanding block and sandpaper.
View Polyurethane Stains

How To Stain Wood
Step 3: Remove Dust and Dirt from The Surface
How To Stain Wood - A Wood Staining Guide
Of course, dirt and dust will prevent you from having a perfect finish. The stain is able to soak in properly when the surface is clean. If you have sanded off the sealer, you need to remove the sanding dust. You can wipe off the dust using a clean rag or paper towel. If the dust refuses to come off, try wetting the towel with the mineral spirit or plain water. If the surface wasn't seal coated, use the following steps to clean it:
- Apply cleaning product on the surface
- Scrub off the dust and dirt using a stiff brush
- Rinse off the surface using a hosepipe with moderate pressure
- Allow the surface to dry completely

How To Stain Wood
Step 4: Staining the Surface
How To Stain Wood - A Wood Staining Guide
Countercheck that all the nearby surfaces are taped off to prevent them from getting stained. If you are staining your fence, ensure that the vegetation around it is covered to protect it from getting damaged by the stain. If you are in an enclosed area, confirm that windows and doors are open.
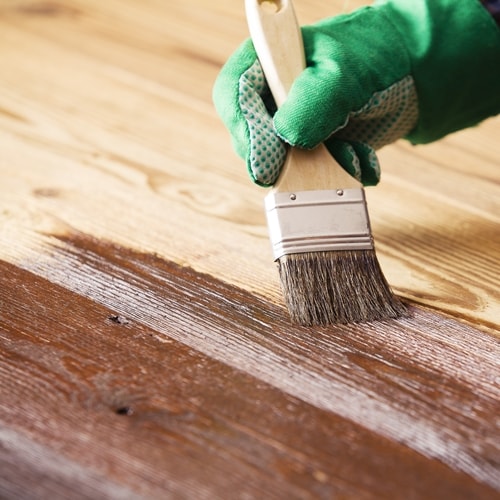
You may use a sprayer or roller brush to stain the surface. Choose a high-quality stain for better results. Make sure you stain the surface systematically. If you are working on your deck, start from one corner and move meticulously to the other areas. And, if you are staining your fence, start from the top moving down.
Make sure to stain the surface evenly. Back brushing is usually recommended to allow the stain to soak in properly. Once the entire surface is stained, leave it for about 15 minutes. This will help you to spot areas that weren't appropriately stained. Fix the spots using the brush or roller.
See All Olympic Wood Stain Colors

How To Stain Wood
Step 5: Leave It to Dry
How To Stain Wood - A Wood Staining Guide
If you want to achieve excellent results, you need to give the surface enough time to dry. Typically, it takes 24-48 hours for the wood stain to dry completely. However, drying time might vary depending on the prevailing temperatures and humidity.
An easy way to stain wood is by having the right tools and high-quality wood stain. And, knowing how to stain wood the right way is by following the above easy steps.
Use Our Wood Stain Calculator


