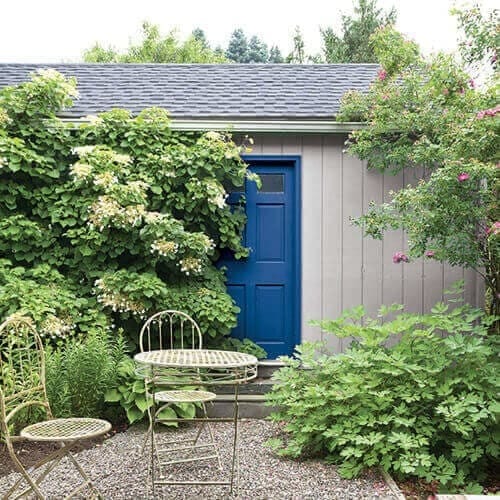
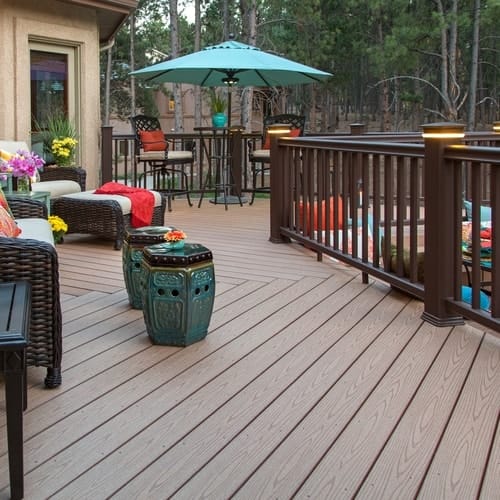
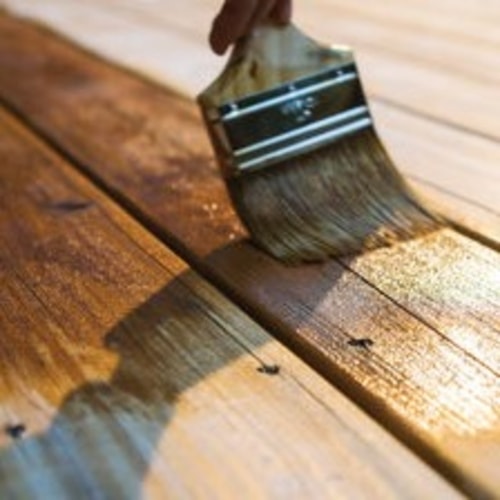
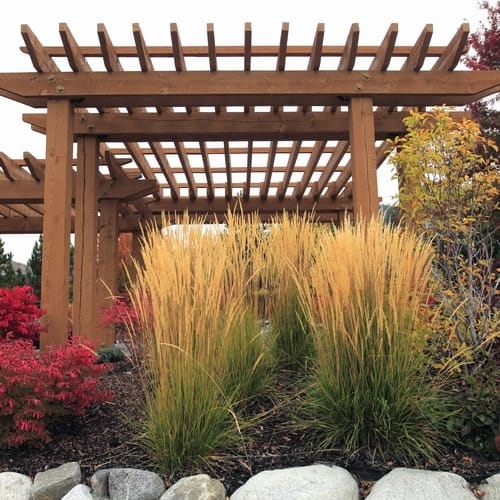
How to Stain Stairs
Staining the steps and railings of wooden stairs with high quality interior Wood Stains will add extra impact to your entryway, while giving your wood an extra layer of protection. Follow this 4-step wood staining advice to do the job right.
Find the right Stain Color for Your Project
Buy Wood Stain Online

Step 1
Choose the Right Stain
Olympic interior stains come in three formulations — Oil-based, Water-based and Gel. Durability, color, drying time, odor and clean-up vary, depending on the one you choose.
For clear wood protection, we provide 3 choices — Polyurethane, Ultra-Clear Polyurethane and SPAR Urethane.
Learn the differences so you can decide which one is right for your project.
Find out More About Interior Stains
Buy Wood Stain Online

Step 2
Prep Your Surface
Examine the steps:
-
Fill holes and cracks with a stainable wood filler.
-
Use painter’s tape to protect surfaces you do not want to stain.
-
Sand all surfaces in the direction of the wood grain.**
-
For basic prep use 80 grit-100 grit sandpaper.
-
For scratches, dents, or rough edges use 100 grit-120 grit sandpaper.
-
For any leftover scratches or loose wood fibers use 220 grit sandpaper.
-
-
Vacuum to remove dust.
Learn More About Clear Interior Stains Buy Wood Stain Online
**WARNING! If you scrape, sand, or remove old paint, you may release lead dust or fumes. LEAD IS TOXIC. EXPOSURE TO LEAD DUST OR FUMES CAN CAUSE SERIOUS ILLNESS, SUCH AS BRAIN DAMAGE, ESPECIALLY IN CHILDREN. PREGNANT WOMEN SHOULD ALSO AVOID EXPOSURE. Wear a properly fitted NIOSH-approved respirator and prevent skin contact to control lead exposure. Clean up carefully with a HEPA vacuum and a wet mop. Before you start, find out how to protect yourself and your family by contacting the USEPA National Lead Information Hotline at 1-800-424-LEAD or log on to www.epa.gov/lead.

Step 3
Stain the Stairs
Before staining, test in an inconspicuous spot and let it dry, to ensure you get the wood stain color you expected.
-
Apply stain on the vertical surface, then the horizontal surface for each step; that way you can easily smooth out any drips
-
Apply stain by rubbing or brushing in the direction of the wood grain
-
Allow the stain to absorb into the wood (reference the product label)
-
Remove any unabsorbed stain with a dry cloth
-
Always wipe in the direction of the wood grain!
See All Interior Stain Colors
Buy Wood Stain Online

Step 4
Protect Your Surface
To ensure the best results:
-
Do not dip into the can, so as to avoid contaminating the wood surface with dust.
-
Tap the brush against the container; wiping will leave the brush too dry.
-
Always apply stain in the direction of the grain.
-
Apply quick and thin coats.
-
Too much brushing or wiping could cause problems when dry.
-
Sand between coats using a 220 grit sandpaper to ensure good adhesion and smooth away imperfections.
-
Wipe away the dust using a damp cloth.